

So, the laptop or computer of choice is prepared and now it’s time for some drivers for all your equipment. Make sure you have some time and patience since this step can take a while and that’s not counting the time it takes to configure everything.
In the early days of computer-assisted astronomy, each manufacturer used their own protocol or method of communication with the equipment. Pretty quick software developers grew tired of writing support for all mounts and adapters available and eventually lead to the idea of universal standard interfaces. Back in 1998 ASCOM brought a standardized ecosystem to astronomy.
So, first of all head over to: https://ascom-standards.org/
The first thing you need to download is the latest version of the ASCOM platform. You will find a download link on the right hand of the screen. Save that file to your downloads folder or make a temporary folder.
 Doubleclick on the downloaded file to start the installation. During the first part of the installation it will automatically detect any missing pre-requisites that you need but you don’t have to install them manually since the installation will take care of that as well. Just continue the guide and click next.

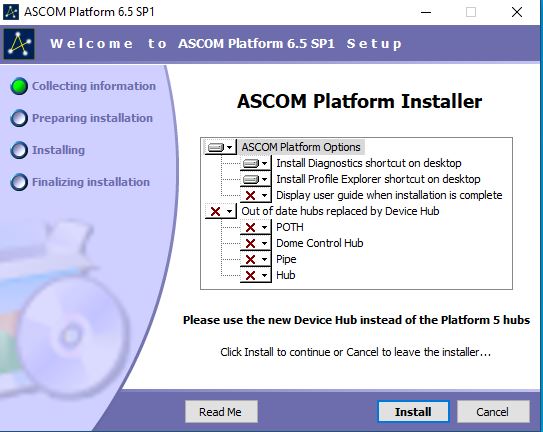
You probably don’t want to change any setting since I didn’t do that. Just continue to installation with install. If you don’t want the installation to create a couple of icons on the desktop make sure to deselect those.
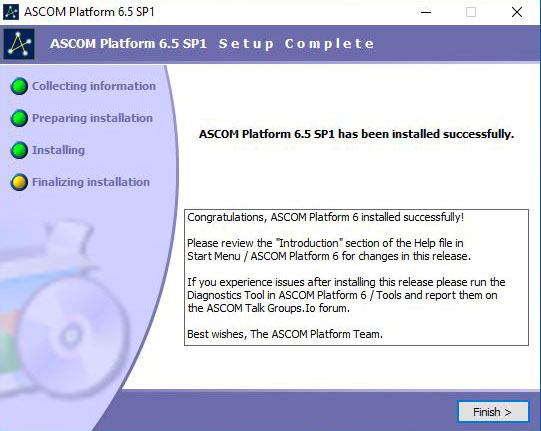
When finished just click finish to exit the installation.
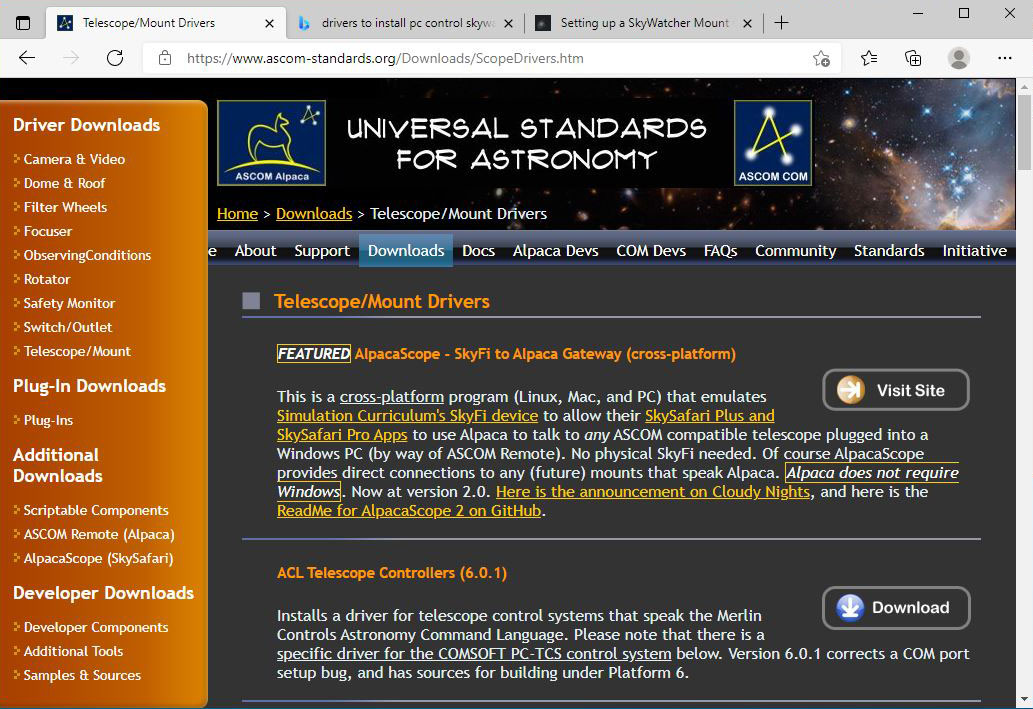
At this time the ASCOM platform has been installed and you now need to get drivers for your specific equipment. Drivers are available on your manufacturer website, but there are a lot of links on the ASCOM website. Check out this link: https://ascom-standards.org/Downloads/ScopeDrivers.htm
I have the Skywatcher HEQ5 Pro GoTo equatorial mount so I scrolled down until I found Skywatcher SyncScan hand controller and app drivers.
If you are a Skywatcher user such as myself you have two options and also two drivers. The ASCOM driver for SynScan App allow ASCOM clients to connect to SynScan App running on Windows, Android or iOS. The ASCOM driver for SynScan hand controller allow you to use the hand controller on your mount.
Link to Skywatcher: http://www.skywatcher.com/download/software/ascom-driver/
I just downloaded both and installed them. There are no settings just click next and finish.

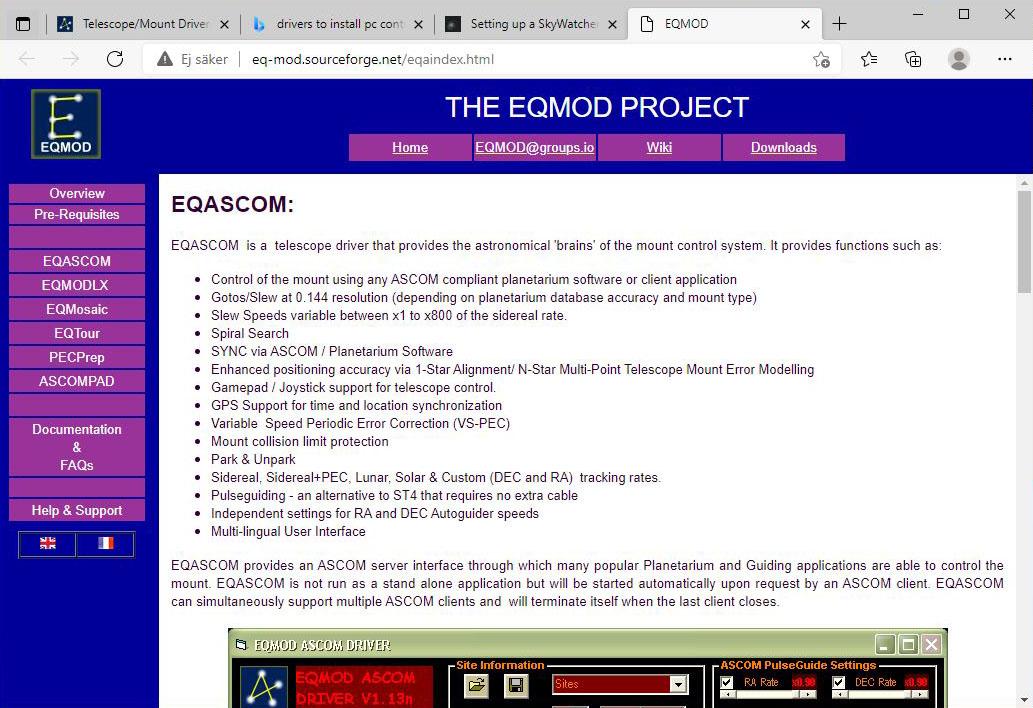
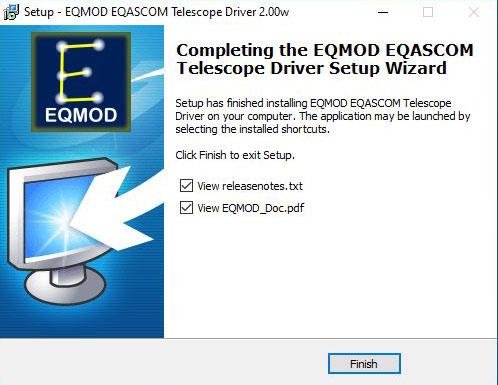
Now we have the basic drivers needed, but since I do like to have options and explore all available paths I visited the EQMod Project website. The EQMod ASCOM driver exceeds the capabilities of the Skywatcher ASCOM Driver. EQASCOM includes GPS support, polar alignment assistance, enhanced multi-star alignment models with the ability to save the sky model for permanently mounted telescopes, spiral search capability around a starting position, multiple parking position capability and more.
Link to EQMod: http://eq-mod.sourceforge.net/introindex.html
Go to downloads and on to Sourceforge and download the EQASCOM driver package.
Install the drivers by clicking next and finish. There are no options during the installation that you need to do.
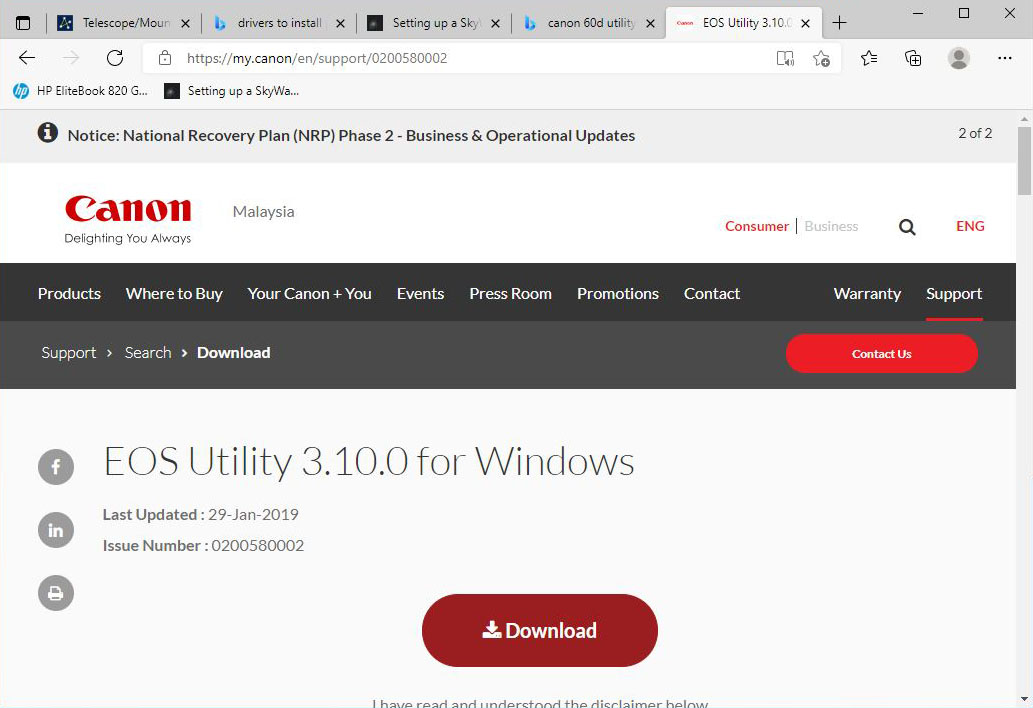
Ok, we have the drivers for the mount and now we need drivers for our cameras. Since I will be using a Canon 60D DSLR for my main imaging camera I need to install drivers to be able to control my camera from my PC.
Link to Canon EOS Utility: https://asia.canon/en/support/0200640702?model=3616C
It can be a bit hard to find the correct software on the Canon website, but I just did a search and ended up on Canon Malaysia. Please ignore the version on the screenshot below, it is for an older version. At the time of writing this the latest version was 3.13.30.6. Don’t worry if you installed an older version since the software will detect and ask you to install updates.
Start the installation guide and follow the instructions.

There are two versions and both are installed and both can operate at the same time on your computer. If you have a newer model of camera the EOS Utility 3 will automatically start when you connect your camera. It’s not that important though since you will not be using the EOS Utility anyway, just the drivers that are included. Click through the last couple of steps in your installation and finish.

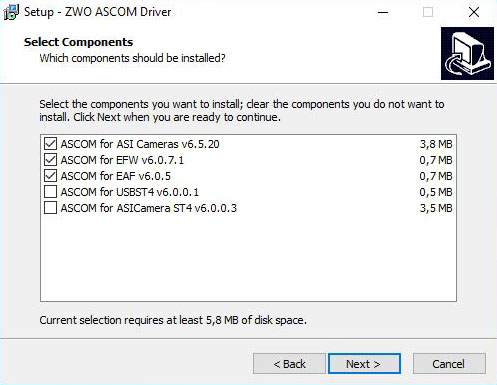
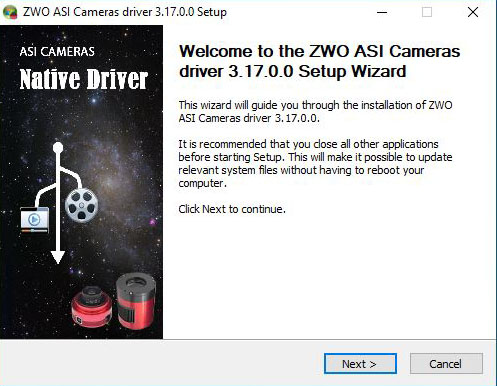
I will be using a ZWO ASI 120MM Mini camera as my guide camera and you guess right, drivers are also needed for that.
Link to ZWO: https://astronomy-imaging-camera.com/software-drivers
There is one driver package for most ASI cameras so just download that and double click to start the installation guide. I did not change any of the components.
Click next and when applicable finish to complete the installation.
Make sure to reboot your computer before connecting any equipment.
Stay tuned for a post about configuration.
Until then, clear skies!